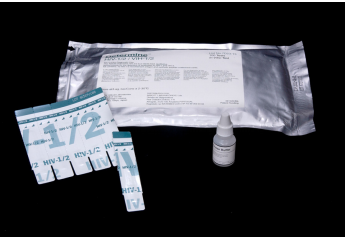
Rapid Tests
How to take an HIV Rapid home Test and understand the results
How to take an HIV Rapid home Test and understand the results
These rapid tests can be used with whole blood, serum or plasma
NOTE! (This guide is not intended to replace the product insert or your
standard
operating procedure (SOP).)
- Check kit before use. Use only items that have not expired or been damaged.
- Bring kit and previously stored specimens to room temperature prior to use.
- Always use universal safety precautions when handling specimens. Keep work areas clean and organised.
1. Collect your test items and other necessary supplies
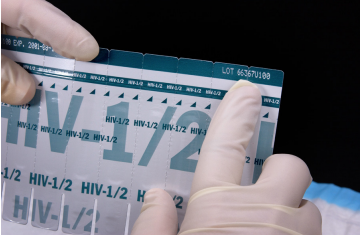
2. Use 1 strip per test and be sure to preserve the lot number on the remaining packet of strips.
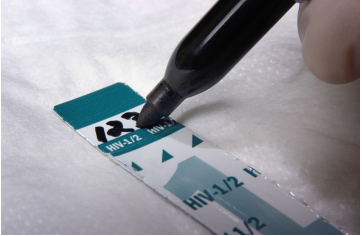
3. Label the test strip with client identification number.
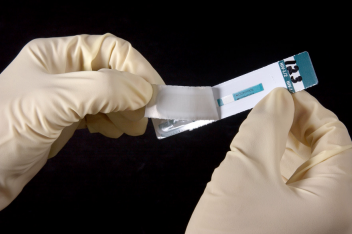
4. Pull off the protective foil cover.
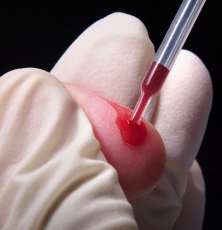
5. Collect specimen
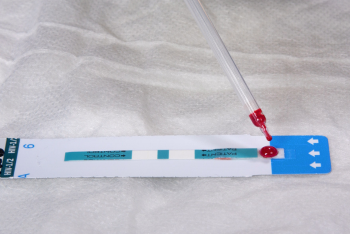
6. Apply the specimen to the absorbent pad on the strip.
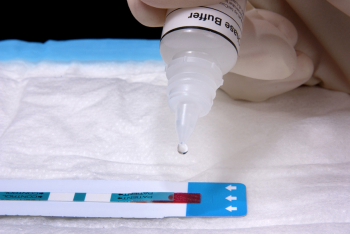
7. For whole blood only add 1 drop of chase buffer to the specimen pad.
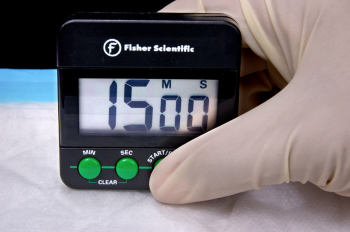
8. Wait 15 minutes (no longer than 60 minutes) before reading the results.
Determining the results
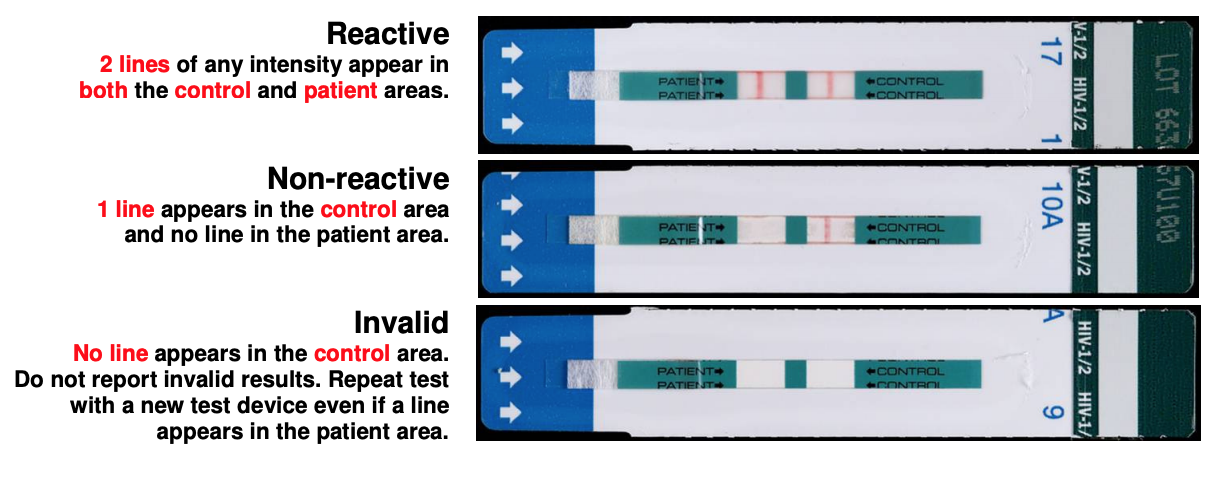
What does a Reactive test result indicate?
- Rapid HIV tests look for antibodies to HIV in the bloodstream, not the virus itself. Antibodies are a substance the body produces to try to fight off an illness. With HIV, these antibodies cannot work on their own to fight off the infection.
- A reactive test means that antibodies that attempt to fight off HIV have been detected in the blood sample. Reactive tests are interpreted as preliminary positive results.
What does a Non-Reactive test result indicate?
- A non-reactive (negative) test result means that antibodies to HIV were not detected in the blood sample. However, your test may come back negative if you have been infected by HIV very recently.
If you need to talk to a Doctor - Download the Dokitari health app for free For
android
or For iOS.
Read more